Today I'd like to take a look ‘behind the scenes’ of a photo workshop and address some questions that cannot be answered without counter-questions.
I will also share a few experiences that have come to my attention over the last few years of leading photo trips, workshops and coaching sessions.
In my opinion, this article is only relevant for ambitious beginners/beginners in nature photography, especially for those interested in workshops and photo trips.
The initial situation
On guided photo tours and during a workshop, a workshop leader/coach/you.name.it can give a lot of tips, technical or creative. In coaching sessions and workshops, these tips tend to be given quite fast and on photo tours in doses, always on request of course.
In the end, however, such tips always guide the photographer's choice of subject and image composition. Today I would like to take up 4 typical questions from participants, where I can give tips, but the answers also depend very much on the participants themselves.
1. ‘Which lens do we need later at the spot?’
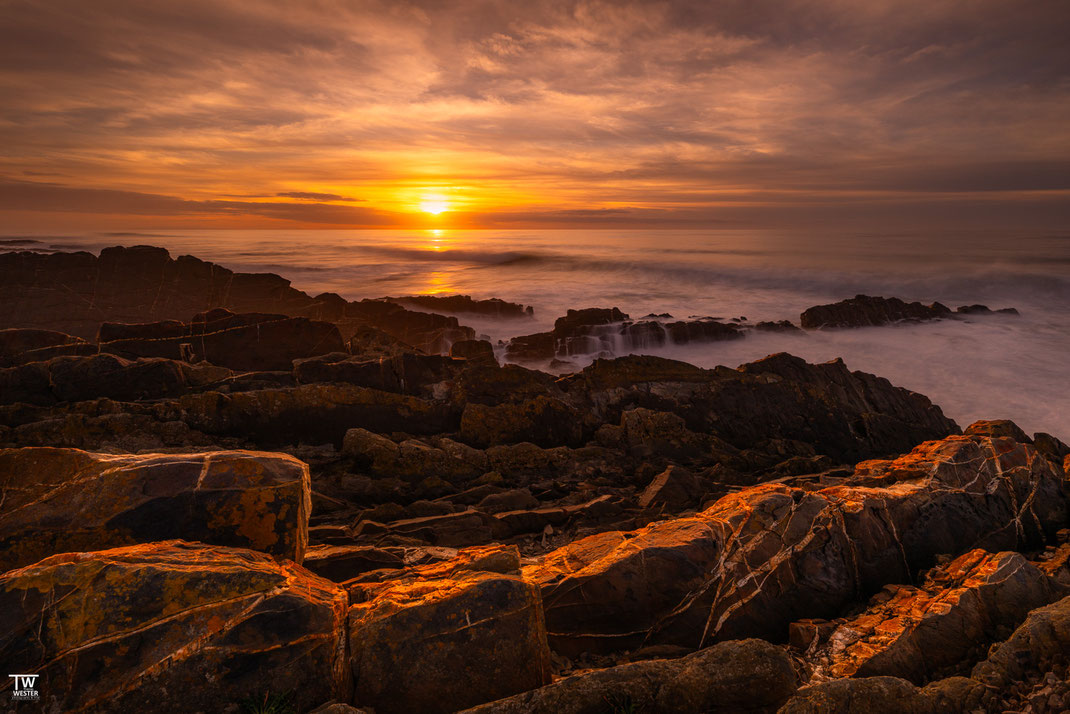
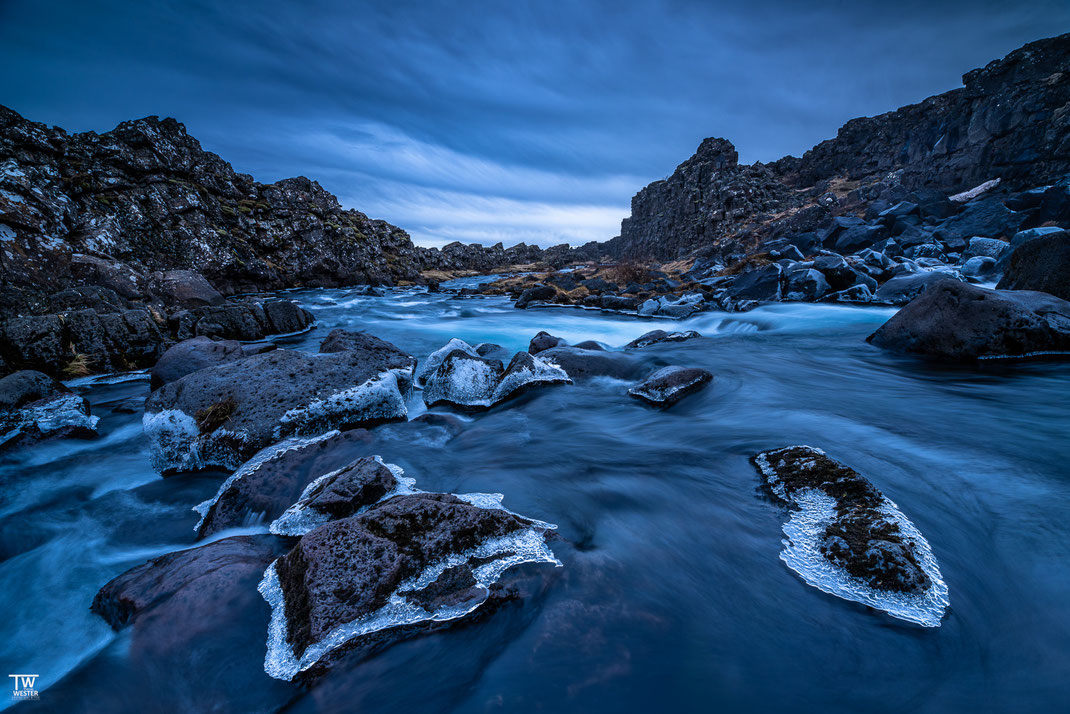
This is a question that I always come across at the beginning of a photo trip, before heading to a beautiful photo spot. Let's take a waterfall, Oxararfoss in Iceland, as an example. Let me put it this way: I can't answer this question in any meaningful way. Or to put it another way: I answer it very similarly every day, at every spot, as follows:
It depends on your taste in motifs, your image idea and your creative preferences. I know photographers who generate as many angles as possible - then take a 12mm in portrait format and ideally stitch a pano. Others want to capture Zen-like isolated stones with only falling water in the background, then use your 70-300mm lens. And I've also seen white-fronted geese with chicks standing right next to this waterfall in summer and photographers were happy to use a 600mm lens.
So, to make a clear recommendation in advance that one of these lenses can safely stay in the hotel room is at least sometimes ‘difficult’. If I do this, I am also imposing my photographic preferences on someone.
For example, with a classic setup consisting of 14-24 (ultra-wide angle), 24-105 (standard wide angle), 100-400 (medium telephoto) and 600 (large telephoto), I always recommend taking at least all of the first three lenses with me to these great Icelandic spots and only really make a clear recommendation for the 600. However, this is rarely to leave the lens completely in the hotel room.
2. ‘What is the best iso or exposure time to use?’
A photographer, for example, has usually already set up his or her setup, selected an image section and then asks this question, which is completely justified. My personal opinion, and this also applies to the following question 3: if a workshop leader answers this question directly with a number, he/she is ignoring any photographic creativity and freedom.
In my opinion, a counter-question must be asked here first, which means something like: tell me about your picture idea and I can recommend something to you. Do you want the waterfall to be very ‘milky’? Or only slightly picturesque? Or completely frozen? I don't want to leave this preference up to the photographers. But after asking 2 or 3 specific questions, you can of course do this so that the image ultimately meets your taste.
3. ‘At what aperture do the images become blurred? When does an image become too noisy?’
This question is very similar, only the sustainable solution is different. Of course, I also give recommendations and explanations for such questions, but I have to realise the following: my personal recommendation is actually irrelevant here.
At what point does diffraction blur become too strong? Where is the boundary between blurred and sharp, between noisy and noise-free? Ask 1000 experts and you will get at least 500 different answers. There are, for example, very experienced photographers who do not accept anything over f/8 and will always stack a landscape image accordingly. For others, f/16 is no problem. My opinion: the only relevant factor here is the taste and eye of the respective photographer.
And this taste is easy to determine, I usually recommend this approach:
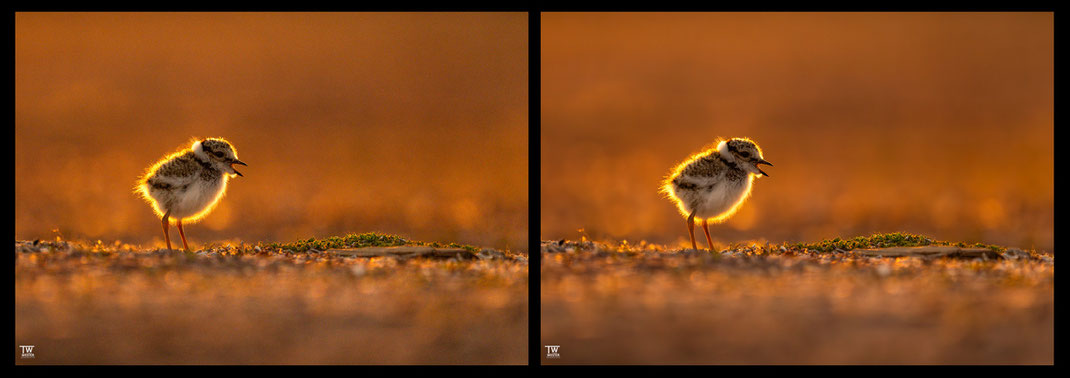
- During your next photo session, simply photograph a scene on the tripod at three different times: in almost daylight (e.g. 2 hours before sunset), at golden hour (e.g. 15 minutes before sunset) and at blue hour (e.g. 20 minutes after sunset)
- In the first step, create a series of images with all iso levels from iso 100 to 10,000
- Then create a series of images with f-stops between open aperture and f/18 (if available)
- This will take you a maximum of 3 x 5 minutes that day
- Look at the results on a monitor and decide for yourself when there is noise and when it becomes blurred, you will recognise this quite clearly
- If you are using a new camera, you should repeat the iso test and also the aperture test if you are using a different lens, as each lens can behave differently in this respect
4. ‘Which motif is the right one?’
As a workshop leader, I can always give impulses for the “motif worlds” that you experience together on a photo trip, according to which criteria you choose the one motif among many. In many cases, this is still easy with the main motif, but with the “supporting actors” (e.g. foreground elements in landscape photography) it becomes more difficult in practical realisation. And supporting actors are important, which is why they even receive their own Oscar every year 😉
Participants on a photo trip also like to take photos ‘on their own and for themselves’, which I think is good and important. After such sessions, it can happen that the photographers themselves miss that certain something in one of their pictures, e.g. during a picture review - without being able to grasp what they could have optimised, as they have followed all the tips from a purely technical point of view.
There are of course various reasons for this, but in this article I would like to focus on one that I perceive as the main cause: the quality of the selected key image elements is not yet sufficient. In landscape photography, for example, these are often the foreground elements.
This is very abstract, so let's take an example: Let's take the dune landscape at the famous Vestrahorn. How do I know which of the 200 hills in front of me is the right one and where exactly to position myself in order to create an image that I as a photographer really like?
I've heard photographers in the past receive or read the well-intentioned tip ‘focus on what's special about today’. This is true, but from a didactic point of view this is of course not enough and can often not be implemented effectively by a beginner.
As a workshop leader, I can name sensible criteria for selection as described above and also demonstrate them on site. However, in situations like this, photographers who have also dealt with references on the respective topic in advance have a clear advantage.
What do I mean by that? I don't mean, for example, that you try to copy a beautiful picture by an experienced photographer. Rather, it is about dealing with images of this ‘motif world’ (in this example, dune landscape images), which can also be a completely different location.
You can do this, for example, by simply picking out 20 pictures on a photo platform or via social media that you really like, for example as a screenshot on your mobile phone. And then analyse them briefly: why does this actually appeal to my taste? In abstract terms, what is the common denominator of these images? In this way, I might then realise that most of these personally selected images...
- Show sand waves
- Show the complete Vestrahorn (not cut)
- Have a leading line in the centre in each case
- There is usually an elevation on the right and left at the edge of the picture
- And are often photographed from the centre depression (note, these are all fictitious exemplary criteria!)
Now I have filtered out the core elements of my own taste for this world of motifs, so to speak, which helps me in my search during the photo session. The area has no sand waves I go further. I have no leading lines this is not my hill. In this hollow, I have no view of the Vestrahorn again, I keep going and eventually find what I'm looking for with 200 hills 😉
I would also like to mention a second example. I regularly come across pictures of larger lakes (e.g. in the Alps) where photographers - in order to adhere to certain ‘design rules’ - look for a thick branch or thin tree trunk as a foreground element and then drape it diagonally in the shore area and then wait for pink clouds.
Technically speaking, these pictures often fulfil all the ‘textbook design rules’. And yet the picture often lacks that certain something. This is usually because a draped tree trunk just looks like a draped tree trunk. If you make the effort here too and compare it with pictures of this ‘motif world’, you realise that the absolutely epic top pictures do not show a draped tree trunk, but other, more natural foreground elements. I should focus on these at the edge of the bank in future.
Conclusion of this point: my message is not that you can't convey this point, but that you also need your own preoccupation with the motifs (worlds) if someone really wants to be optimally prepared. Even I, as an experienced nature photographer, always familiarise myself mentally with new motifs in this way, even if it's only the evening before in my hotel room. Investing 15 minutes can help a lot here.
I think that most good composers have certainly been inspired by other artists in their lives and studied the works of others before their own first success; it's no different in photography.
I hope to have provided some inspiration and thank you for your interest!
Best regards,
Thomas